Manage Existing SharePoint Online Protection
Edit protection settings, change the policy, and start, stop, & pause protection.
Once you have applied protection to the objects in your sources, Cohesity Cloud Protection Service makes it easy to make changes to that protection quickly. You can:
-
Edit additional settings like End Date, Exclusions, Alerts, and more.
-
Apply a different policy.
-
Start an on-demand protection run, pause and resume it, or even remove protection.
Edit Protection Settings
To edit protection settings:
-
In Cloud Protection Service, navigate to Sources.
-
Click into the Source name.
-
Select Show All > Protected and use the other filters, search box, and views at the top to narrow your search.
-
Click the Actions menu (
 ) next to the object and select Edit Protection to open the protection settings for that object.
Apply a New Protection Policy
To change the Policy, click the drop-down and select a different policy. To help you choose, each policy in the list shows the Backup frequency and the Retain period for each backup.
If you don't have a policy that meets your needs, scroll to the bottom of the list and click Create Policy to create your own policy.
Edit Additional Protection Settings
Under Settings, you can change the protection Start Time (and select the Time Zone).
Click the drop-down next to Additional Settings to change more options. See Additional Protection Settings for details.
Start, Stop, or Remove Protection
When you select protected objects in one of your sources, Cohesity Cloud Protection Service presents buttons for the actions that are possible for those objects.
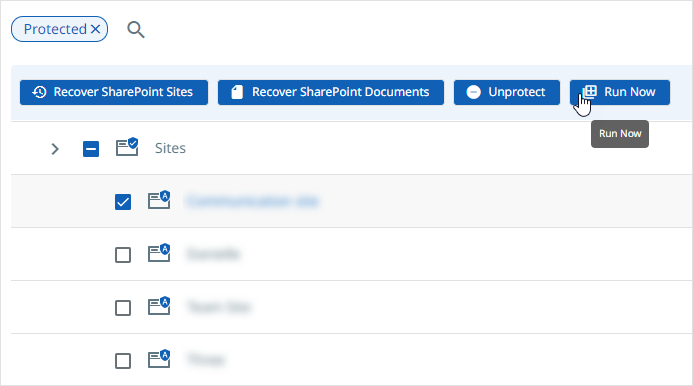
With the protected objects selected, you can click:
-
Recover SharePoint Sites to recover the SharePoint sites.
-
Recover SharePoint Documents to recover the SharePoint documents.
-
Run Now to start an on-demand protection run immediately.
-
Unprotect to remove protection from the object.
If a protected object is deleted from the source, you can search the object using Global Search and unprotect it.
Download Error Report for a SharePoint Protection Run
You can download a list of errors encountered during the SharePoint Site protection run. Once the protection run is finished and if any files are skipped or have encountered errors, the protection run status is shown as Warning. You can download a report that lists the files that are skipped or have encountered errors.
The files skipped or encountered errors are re-tried for the backup in the subsequent protection run.
To download the report from the Source page:
-
In Cloud Protection Service, navigate to Sources.
-
Click on the Source name and navigate to the Site tab.
-
Click on the warning
 icon in the Status column for the required SharePoint Online object.
The warning message will be displayed. -
Click Download Details.

This will download all the error logs in a CSV file format.
To download the report from the Activity page:
-
In Cloud Protection Service, navigate to Activity.
-
Click on the required SharePoint Online protection run.
-
In the run details page, click Download Details.
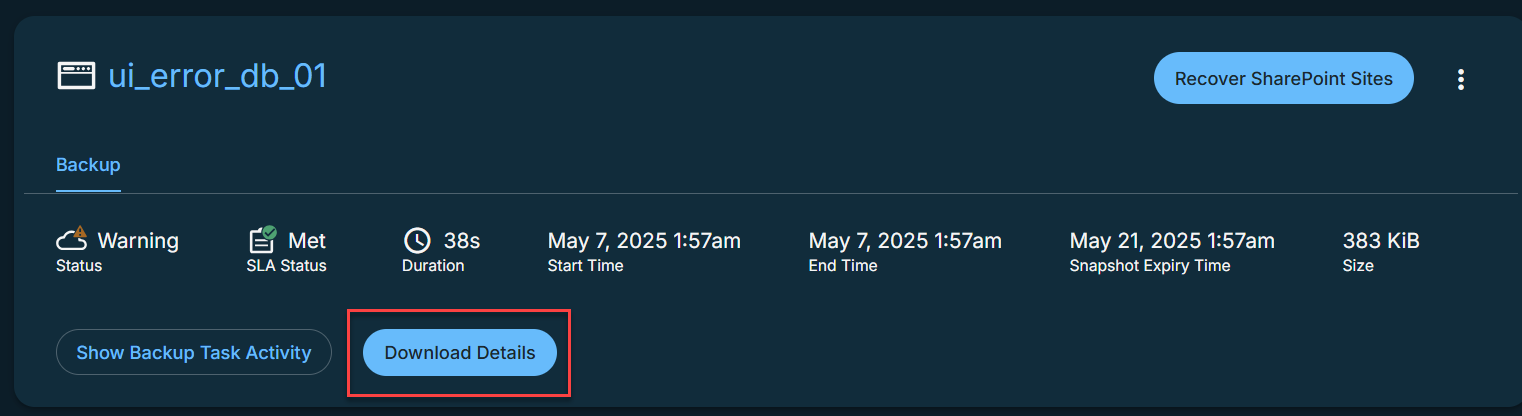
This will download all the error logs in a CSV file format.
Additional Settings
| Advance Settings | Description |
|---|---|
| Start Time |
Available only if the selected policy is set to Backup Daily. Indicates what time the protection run should start. Enter the Start Time and select AM or PM. The default time zone is the browser's time zone. You can change the time zone of the protection run by selecting a different time zone here. |
| SLA |
The service-level agreement (SLA) defines how long the administrator expects a protection run to take. Enter:
|
| Cancel Runs at Quiet Time Start |
(Available only if the selected policy has at least one Quiet Time) When enabled, all the protection runs that are currently executing will cancel when the Quiet Time period starts. By default, this setting is disabled, meaning that after a protection run starts, it continues to execute even when a Quiet Time period starts. However, new protection runs will not start during a Quiet Time. |
| Indexing |
By default, indexing is enabled. Indexing is mandatory for granular restore of SharePoint sites. |
Site Tagging
You can directly protect the Sites that are tagged to Teams or Groups during the SharePoint protection if the Teams or Groups workflow is not enabled. This ensures that no Teams Sites or Groups Sites are missed during recovery. Site tagging is enabled by default for the newly registered sources while the existing sources must be updated to enable this feature.
Snapshot Visibility Based on Site Tagging Status
For new sources,
-
When Teams or Groups workflow is not enabled, the Teams Sites and Groups Sites can be protected and recovered from the Sites tab.
-
When Teams or Groups workflow is enabled, the Teams Sites and Groups Sites can be protected and recovered from the Teams and Groups tabs respectively. Also, the Teams Sites and Groups Sites that were protected from the Sites tab can be recovered directly from the Sites tab.
For existing sources,
-
The Teams Sites and Groups Sites that were protected from the Sites tab can be recovered directly from the Sites tab.
If a Groups Site is converted to Teams Site,
-
Snapshots taken before tagging will be available under the Sites tab.
-
Snapshots taken after tagging, while still in Groups, will be available under the Groups tab.
-
Snapshots taken after conversion to Teams will be available under the Teams tab.
Search Tagged Sites or Groups
-
In Cloud Protection Service, navigate to Sources.
-
Click on the Source name and select the Site tab.
-
Use the search and filter options to find and select the required tagged site.
-
You can perform the following:
-
Click on the object name to view the Activity history.
-
Hover over the object, click on the Recover icon, and select the snapshots to recover. Once the recovery is initiated, you can track the progress on the Activity page.
You can also use global search to find the tagged sites.
After converting the objects from Groups to Teams, the global search results display only the Teams objects, which is the latest state of the objects.
